
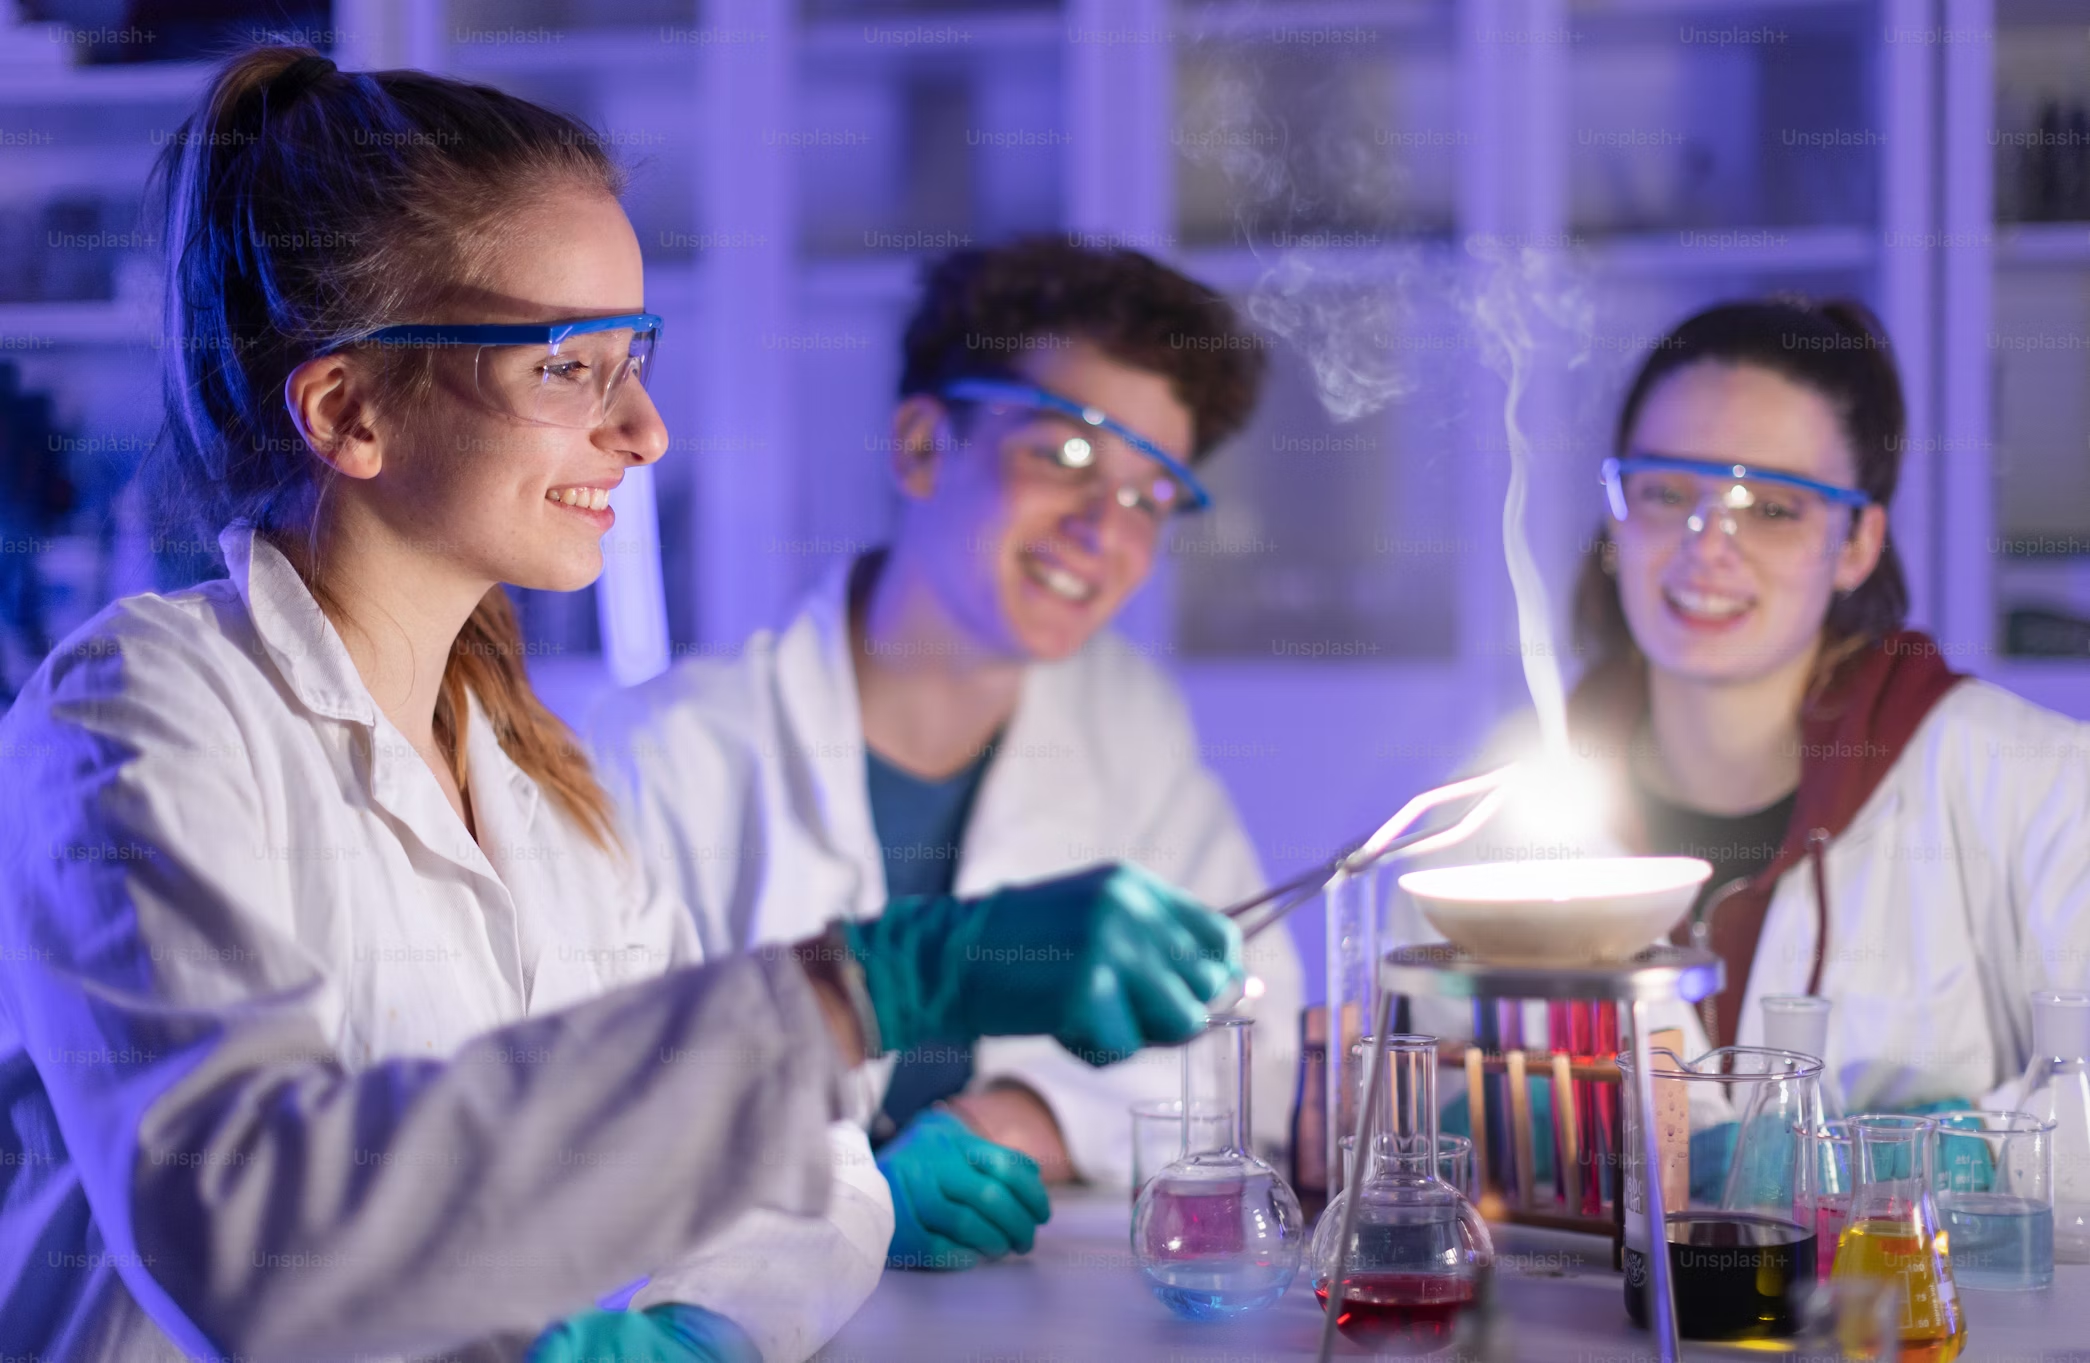
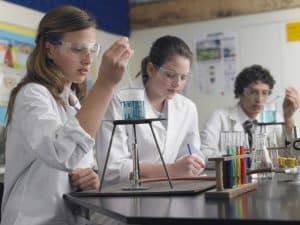
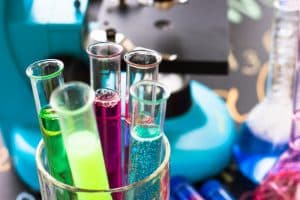
Planning to join a science fair? Maybe you love chemistry and are trying to come up with an idea in that field to battle it out with other aspiring scientists. Today, we’ll give you several chemistry science fair projects under different categories that you can consider. Tweak them as you wish or use them as a springboard for another related experiment!
- Environmental Chemistry Science Fair Projects
- Food Chemistry Science Fair Projects
- Polymer Chemistry Science Fair Projects
- Electrochemistry Science Fair Projects
- Frequently Asked Questions
- Takeaways
Environmental Chemistry Science Fair Projects
Environmental chemistry studies chemical processes in the natural world by looking at pollutants. It also observes their sources, transport, and effects on ecosystems. This field analyzes interactions between chemicals and the environment to help us understand and lessen pollution.
There are several chemistry internships that will find your environmental chemistry project interesting, such as the National Institute of Environmental Health Sciences Summer Internship Program.
We’ll talk about some chemistry science fair project ideas under the environmental chemistry category below.
1. Analyzing the effects of acid rain on soil pH
This chemistry science fair project will look at the impact of acid rain on soil acidity, which is a major environmental concern since acidic precipitation can alter soil pH. After all, this can affect plant growth and ecosystem health.
Materials
- Different soil samples (such as garden soil and potting soil)
- Distilled water
- Vinegar or lemon juice (to create simulated acid rain)
- pH meter or pH strips
- Spray bottles
- Beakers
Experimental procedure
- Prepare simulated acid rain solutions with different pH levels using distilled water and vinegar or lemon juice.
- Measure the initial pH of each soil sample.
- Divide each soil sample into equal portions.
- Spray each soil portion with a measured amount of the corresponding acid rain solution.
- Allow the soil to sit for a specific period (such as 24 hours).
- Measure the pH of the soil samples again.
- Record and compare the pH changes in each soil sample.
- Repeat the experiment several times.
You’ll notice that soil samples treated with lower-pH acid rain will show a more significant decrease in pH compared to those treated with higher-pH acid rain or distilled water since different types of soil may also react differently to the acid rain.
2. Investigating the decomposition rate of different biodegradable materials
For this chemistry science fair project, you’ll be examining the decomposition rates of various biodegradable materials in soil. This can promote awareness of sustainable practices and help address the issues of waste management and the environmental impact of non-biodegradable materials.
Materials
- Various biodegradable materials (like fruit peels, paper, biodegradable plastics, compostable utensils)
- Soil
- Containers or pots
- Water
- Measuring scale
- Camera (for visual documentation)
Experimental procedure
- Weigh and record the initial mass of each biodegradable material.
- Bury each material in separate containers filled with soil.
- Maintain consistent moisture levels in the soil.
- Periodically (maybe weekly) dig up the materials, clean off excess soil, and weigh them.
- Record the mass and observe any visible changes in the materials.
- Take photos to document the decomposition process.
- Continue the experiment for a set period (such as several weeks or months).
- Create graphs showing the change in mass of each material over time.
You may notice that organic materials like fruit peels and paper should decompose significantly faster than biodegradable plastics. Meanwhile, “biodegradable” plastics may show minimal decomposition within the experimental timeframe.

3. Looking at the effectiveness of natural water filters
This chemistry science fair project will compare various readily available materials and their water filtering capabilities. It aims to address the important issue of water purification, especially in areas with limited access to clean water.
Materials
- Murky water (simulated or collected from a safe source)
- Clear plastic bottles (cut in half)
- Sand (various grades)
- Gravel (various sizes)
- Activated charcoal
- Cotton balls or coffee filters
- Beakers or collection containers
- pH strips
- Visual clarity chart
- Turbidity meter (optional but recommended)
Experimental procedure
- Prepare different filter setups in the cut plastic bottles, making sure to layer the materials.
- Pour a measured amount of murky water through each filter.
- Collect the filtered water in beakers.
- Measure the turbidity of the filtered water using a turbidity meter or compare visual clarity.
- Measure the pH of the filtered water.
- Record and compare the results from each filter.
- Repeat the experiment several times to ensure reliable data.
- Create a chart comparing the turbidity of the water before and after filtration and between different filters.
You can expect that the filter with multiple layers, especially activated charcoal, will significantly reduce turbidity and improve water clarity compared to the sand-only filter. The pH of the water may also be altered slightly, depending on the materials used.
Food Chemistry Science Fair Projects
Food chemistry explores the chemical composition and properties of food. It looks at how the processing, storage, and interactions of food components affect quality, safety, and nutritional value. This field investigates reactions like browning, fermentation, and oxidation.
Food chemistry is also quite common when thinking of chemistry-related research ideas since there’s so much you can observe in the field.
In this section, we’ll give you some food chemistry science fair project ideas.
4. The effect of pH on the browning of fruits
This chemistry science fair project will look at how pH levels affect the rate of enzymatic browning in fruits like apples or bananas. This can be helpful for food preservation and understanding how to prevent unwanted browning.
Materials
- Apples or bananas (sliced into equal pieces)
- Lemon juice (acidic solution)
- Baking soda solution (basic solution)
- Distilled water (control)
- Small bowls or containers
- Camera (for documenting changes)
- Timer
Experimental procedure
- Slice the fruits into equal pieces.
- Prepare the individual solutions for lemon juice, baking soda, and distilled water.
- Place each fruit slice in a separate bowl.
- Apply a measured amount of each solution to the corresponding fruit slice.
- Take initial photos of each slice.
- Observe and document the browning of each slice at regular intervals (like every 15 minutes) for a set period (such as 1 to 2 hours).
- Take photos at each interval to visually track the browning process.
- Compare the browning rates of each slice.
You can expect the fruit slice treated with lemon juice to show the slowest rate of browning. The control slice will show moderate browning, and the fruit slice treated with baking soda solution will brown the fastest.
5. Investigating the effect of temperature on yeast activity in bread dough
In this chemistry science fair project, you’ll look at how temperature affects yeast’s production of carbon dioxide, which causes the dough to rise.
Materials
- Active dry yeast
- Sugar
- Warm water
- Flour
- Salt
- Thermometer
- Measuring cups and spoons
- Small, clear containers
- Oven with temperature control or warm location
Experimental procedure
- Prepare yeast solutions with sugar and warm water.
- Prepare dough samples using flour, salt, and the yeast solutions.
- Divide the dough into equal portions and place them in separate clear containers.
- Place the containers in different temperature environments (such as the refrigerator, room temperature, and warm oven).
- Measure and record the height of the dough at regular intervals (every 15 minutes is okay) for a set period (such as 1 to 2 hours).
- Monitor and record the temperature of each environment.
- Graph the height of the dough versus time for each temperature.
The dough at the moderate temperature should rise the most and fastest. The dough in the refrigerator should show minimal rise, and the dough at a very high temperature may rise initially but then collapse due to yeast death.
6. Analyzing the vitamin C content in different fruit juices
For this chemistry science fair project, you’ll observe the variation in vitamin C (aka ascorbic acid) content among different fruit juices. It involves a simple titration method to determine the concentration of vitamin C, making it a good way to learn about titration and the nutritional value of common fruit drinks.
Materials
- Various fruit juices (both freshly squeezed and commercially packaged)
- Iodine solution
- Starch solution
- Distilled water
- Beakers
- Graduated cylinder
- Dropper or burette
- White tile or paper
Experimental procedure
- Prepare a starch indicator solution.
- Dilute the fruit juices with distilled water.
- Add starch solution to the diluted juice.
- Titrate the juice with iodine solution drop by drop until a persistent blue-black color appears.
- Record the volume of iodine solution used.
- Repeat the titration multiple times for each juice sample.
- Calculate the vitamin C content based on the volume of iodine used.
- Compare the vitamin C concentrations among the different juices.
You should find that freshly squeezed orange juice will exhibit the highest vitamin C content. Meanwhile, commercially packaged juices would have different levels of vitamin C, depending on processing and storage.
Polymer Chemistry Science Fair Projects
Polymer chemistry studies the synthesis, properties, and applications of polymers, large molecules made of repeating units. It explores how molecular structure influences material characteristics like elasticity and strength. This field is important for developing plastics, rubbers, and synthetic fibers used in different applications.
Let’s look at some possible polymer chemistry science fair projects below.
7. Comparing the elasticity of different slime recipes
In this chemistry science fair project, you’ll observe how varying the ingredients in slime affects its elasticity. It shows the formation of cross-linked polymers and how different cross-linking agents influence the material’s flexibility and stretchiness.
Materials
- Polyvinyl alcohol (PVA) glue
- Borax powder
- Contact lens solution (containing boric acid)
- Liquid starch.
- Water
- Measuring cups and spoons
- Bowls
- Ruler or measuring tape
- Food coloring (optional)
Experimental procedure
- Prepare different slime recipes, varying the cross-linking agent (borax, contact lens solution, liquid starch) while keeping other ingredients consistent.
- Mix the ingredients thoroughly according to each recipe.
- Test the elasticity of each slime sample by stretching it between two points.
- Measure the maximum distance each slime sample can be stretched before breaking.
- Repeat the elasticity test multiple times for each sample.
- Record and compare the stretching distances of each slime recipe.
- Observe and record other properties, like how fast the slime flows.
The slime made with borax should show the greatest elasticity. Slime made with contact lens solution or liquid starch may have varying degrees of elasticity, but still likely less than the borax-based slime.
8. Investigating the strength of bioplastics made from different starches
For this chemistry science fair project, you’ll look at the creation of bioplastics from renewable resources like potato, corn, or tapioca starch. It will investigate how the type of starch used affects the tensile strength of the resulting bioplastic, which can give sustainable alternatives to traditional plastics.
Materials
- Potato starch
- Corn starch
- Tapioca starch
- Glycerin
- Vinegar
- Water
- Heat source (like a hot plate)
- Small molds or flat surfaces
- Measuring cups and spoons
- Weights or a tensile strength testing apparatus (if available)
Experimental procedure
- Follow a consistent recipe to prepare bioplastic solutions using each type of starch, glycerin, vinegar, and water.
- Heat the solutions and pour them into molds or onto flat surfaces to solidify.
- Allow the bioplastics to dry completely.
- Cut the bioplastics into strips of equal dimensions.
- Test the tensile strength of each bioplastic strip by applying increasing weight until it breaks.
- Measure and record the weight required to break each strip.
- Repeat the tensile strength test multiple times for each type of bioplastic and compare them to one another.
Potato starch bioplastic may show the highest tensile strength thanks to its higher amylose content. Corn or tapioca starch bioplastics may have varying degrees of strength.
9. Comparing the water absorption of different types of superabsorbent polymers
This chemistry science fair project looks at how the chemical structure of different superabsorbent polymers (SAPs), commonly found in diapers or gardening products, affects their ability to absorb and retain water.
Materials
- Sodium polyacrylate (such as from diapers or gardening crystals)
- Distilled water
- Beakers or containers
- Measuring scale
- Graduated cylinder
- Timer
- Starch-based superabsorbent polymers (if available)
Experimental procedure
- Weigh equal amounts of each type of superabsorbent polymer.
- Place each polymer sample in separate beakers.
- Add a measured volume of distilled water to each beaker.
- Allow the polymers to absorb water for a set period (maybe 30 minutes).
- Carefully remove the hydrated polymers from the water, allowing excess water to drain.
- Weigh the hydrated polymers.
- Calculate the amount of water absorbed by each polymer.
- Repeat the experiment multiple times for each polymer and compare their water absorption capacities.
Sodium polyacrylate should show the highest water absorption capacity. Meanwhile, starch-based SAPs may have varying degrees of water absorption but likely still less than sodium polyacrylate.

Electrochemistry Science Fair Projects
Electrochemistry studies the relationship between electricity and chemical reactions. It explores how chemical changes generate electricity (galvanic cells) and how electricity drives non-spontaneous reactions (electrolytic cells). This field involves batteries, corrosion prevention, and electroplating.
We’ll give you a few electrochemistry science fair project ideas below.
10. Building a simple lemon battery
This chemistry science fair project shows you the basic principles of electrochemical cells in action by constructing a simple battery using a lemon as an electrolyte to show how different metals react in an acidic environment to generate an electrical current. This is a great hands-on way to understand how batteries work.
Materials
- Lemons
- Zinc nails or strips
- Copper nails or strips
- Alligator clips or wires
- Voltmeter or multimeter
- Small LED (optional)
Experimental procedure
- Roll the lemon gently to soften it and increase juice flow.
- Insert a zinc nail and a copper nail into the lemon, ensuring they are not touching.
- Connect the zinc nail to the negative terminal and the copper nail to the positive terminal of a voltmeter using alligator clips or wires.
- Measure and record the voltage produced by the lemon battery.
- If you have a multimeter that can measure current, measure and record the current.
- (Optional) Connect a small LED to the lemon battery and observe if it lights up.
- Test multiple lemons and lemons with different distances between the electrodes.
You can expect the lemon battery to produce a measurable voltage, typically around 0.5-1 volt). The voltage will vary slightly based on the size and acidity of the lemon and the distance between the electrodes. The LED may light up dimly, depending on its voltage requirements and the battery’s output.
11. Investigating the electrolysis of water
For this chemistry science fair project, you’ll be exploring the process of electrolysis, where an electrical current is used to decompose water into its constituent gases, hydrogen and oxygen.
Materials
- Distilled water
- Baking soda or salt (to increase conductivity)
- Two graphite rods (from pencils) or stainless steel electrodes
- 9-volt battery or DC power supply
- Wires with alligator clips
- Two test tubes
- Beaker or container
Experimental procedure
- Prepare an electrolyte solution by dissolving baking soda or salt in distilled water.
- Place the electrolyte solution in a beaker or container.
- Connect the graphite rods or steel electrodes to the positive and negative terminals of the battery or power supply.
- Submerge the electrodes in the electrolyte solution.
- Invert two test tubes filled with electrolyte solution over the electrodes, ensuring no air bubbles are trapped.
- Observe the formation of gas bubbles at each electrode.
- Allow the electrolysis to proceed for a set period.
- Observe how much gas collects in each test tube.
- Carefully test the gasses with a burning splint. Hydrogen will pop, and oxygen will relight a glowing splint.
Gas bubbles will form at both electrodes. However, hydrogen gas will collect at the negative electrode (cathode) and oxygen gas at the positive electrode (anode). The volume of hydrogen gas collected will be about twice the volume of oxygen gas.

12. Comparing the conductivity of different electrolyte solutions
This chemistry science fair project will explore the relationship between ion concentration and the ability of a solution to conduct electricity. This is a good project for understanding how ions move in solutions.
Materials
- Distilled water
- Various electrolytes (like salt, sugar, vinegar, lemon juice)
- Beakers or containers
- Conductivity meter or a simple conductivity tester (lightbulb and battery circuit)
- Measuring cups and spoons
Experimental procedure
- Prepare a series of electrolyte solutions with varying concentrations.
- Prepare a sugar solution as a non electrolyte control.
- Use a conductivity meter to measure the conductivity of each solution.
- If using a lightbulb circuit, observe the brightness of the lightbulb in each solution.
- Record and compare the conductivity readings or lightbulb brightness for each solution.
- Repeat the experiment multiple times.
Solutions with higher concentrations of ions will show higher conductivity readings or brighter lightbulb illumination. Strong electrolytes (like salt) will show higher conductivity than weak electrolytes (like vinegar). Sugar water will not conduct electricity.
Frequently Asked Questions
1. How do I choose a science fair project?
Choose a project that genuinely interests you. However, make sure it’s also a topic you enjoy and can easily access materials for. If you’re aiming for top colleges in chemistry like MIT, you should select a project that demonstrates your analytical skills, creativity, and depth of understanding in the field. Ideally, it should explore advanced concepts, address real-world problems, or showcase innovative experimentation.
2. What are the topics in Grade 12 chemistry?
Grade 12 chemistry typically covers organic chemistry, equilibrium, reaction kinetics, and electrochemistry. It may also include topics like thermodynamics, environmental chemistry, and industrial applications.
3. What is the best topic for a chemistry project?
The best topic for a chemistry project for you depends on your interests. But, in general, some interesting ideas would be developing new product materials and analyzing the chemistry of existing products (like soap, toothpaste, and detergents).
Takeaways
Chemistry is a very vast field, giving you endless possibilities for the chemistry science fair projects you can come up with.
- Some categories under chemistry you can think of include environmental chemistry, food chemistry, polymer chemistry, and electrochemistry.
- When choosing a chemistry fair project idea you should go with, remember that you should be genuinely interested in the topic. However, your materials should also ideally be readily available to you.
- Thinking of taking up chemistry in college but not sure which competitions, internships, and other opportunities are available to you? You can enlist the help of a private admissions expert to guide you.